Rejecting payment files
To reject payment files
- On , under , click .
The window appears with a list of the payment files that must be approved before they can be processed. - Click to select the beside the payment file that you want to reject.
The is highlighted in red, and a confirmation dialog appears.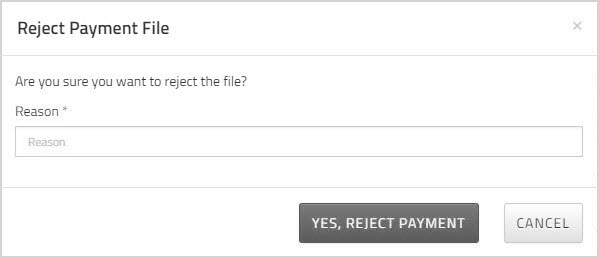
-
In the field, enter a reason
for the rejection.
Be as clear as you can so that the person who uploaded the payment file will know what to do to fix it. - Click .
- Repeat these steps to mark additional files for rejection.
- On the page, click .
- Optionally, on the page, click a file name to view details about that file.
The page opens.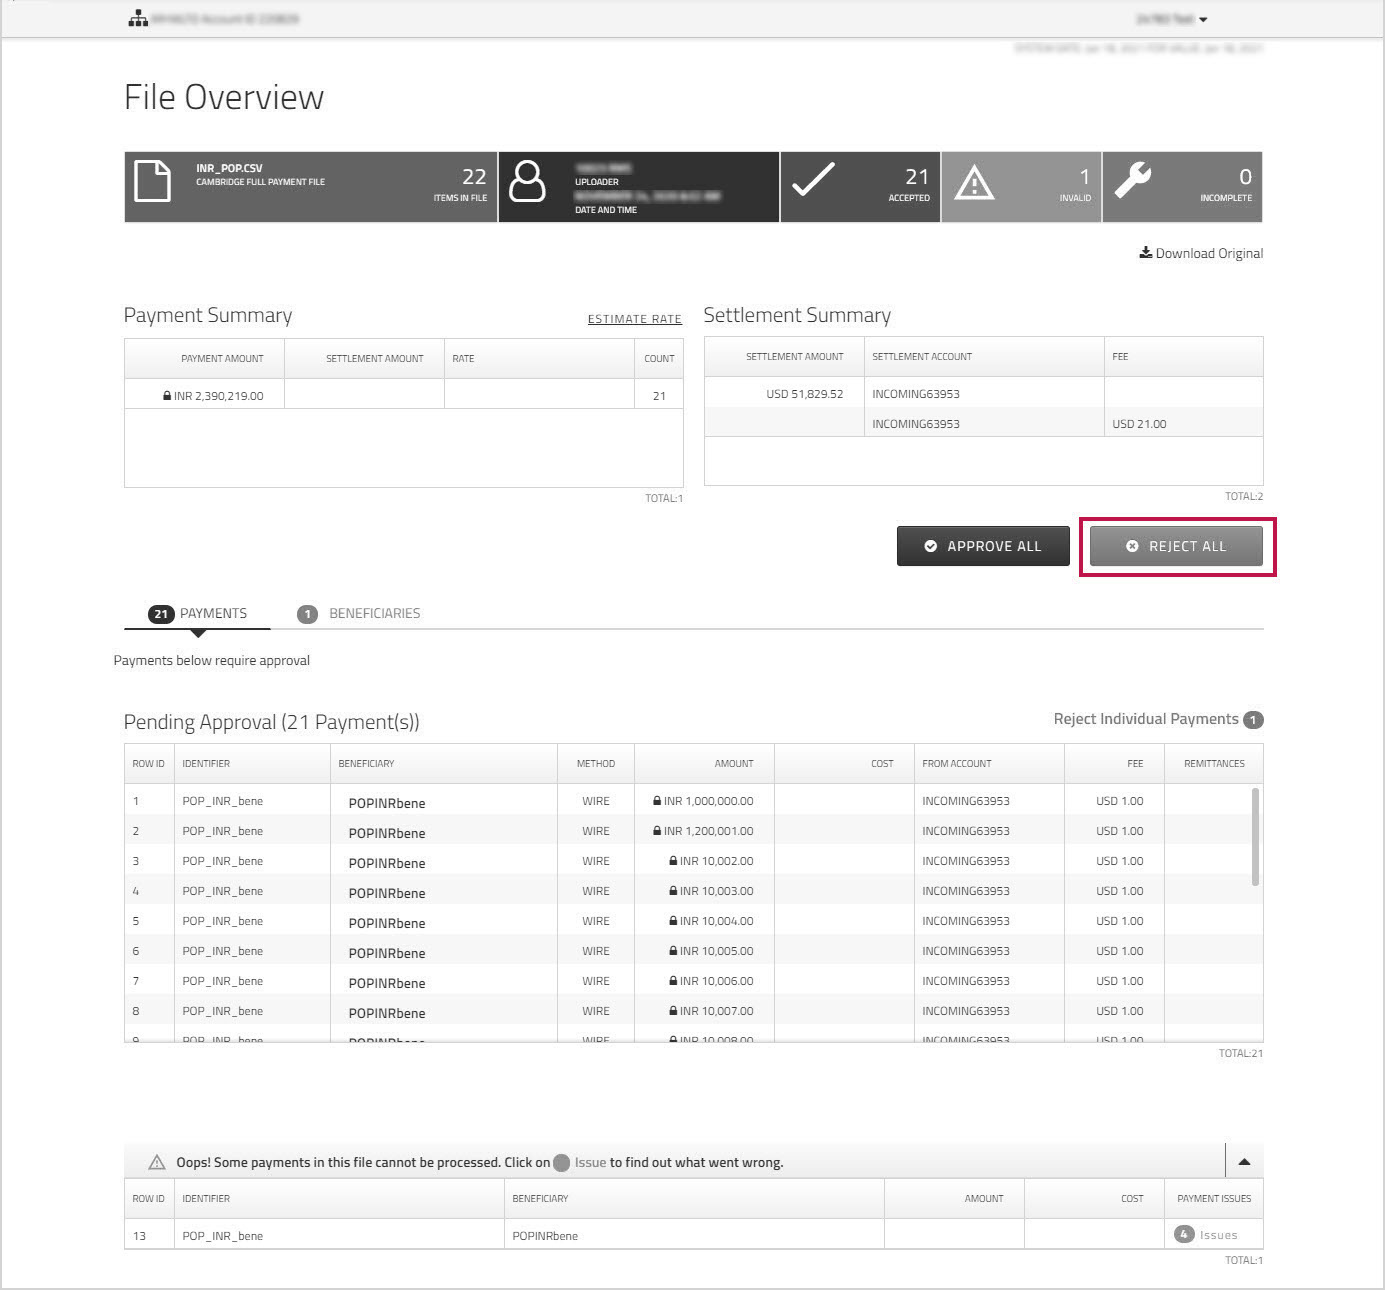
- Click if you want to reject all of the payments in the displayed file.
The dialog appears. - Enter a reason for the rejection, then click .
The page appears.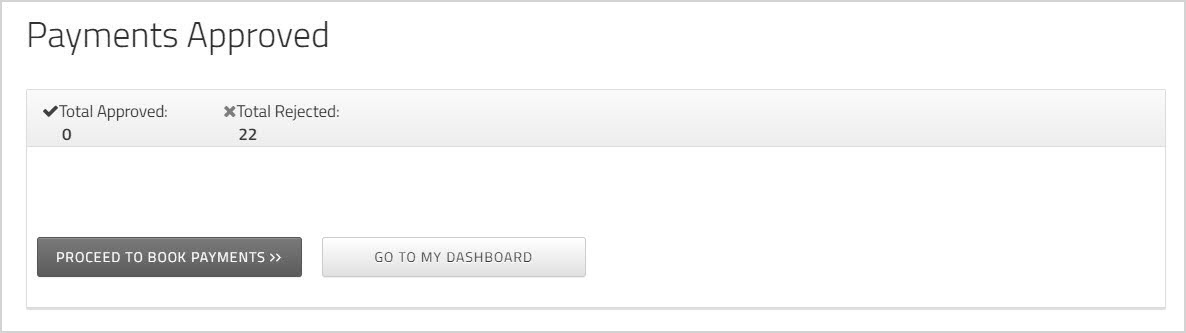
- Click to return to the or click to return to .
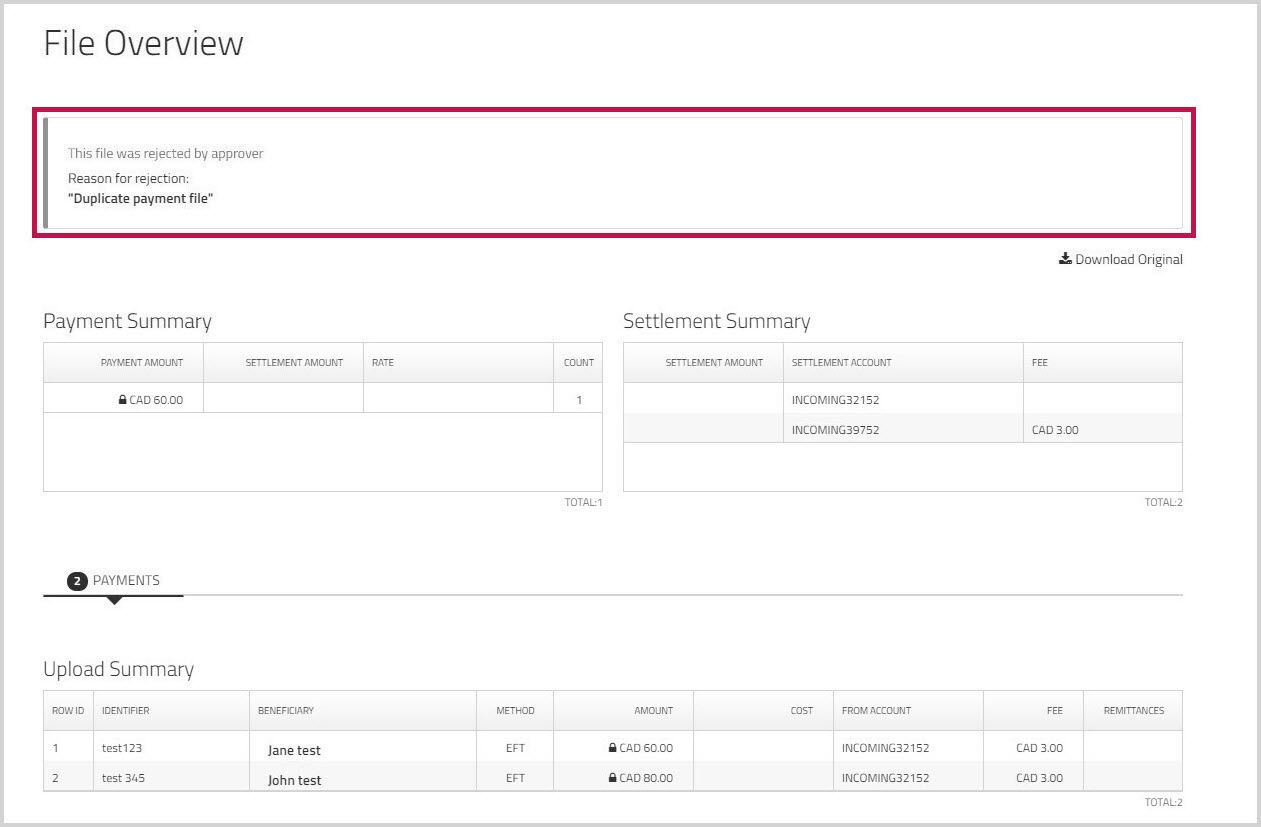
On the page, rejected files have a red in the Status column.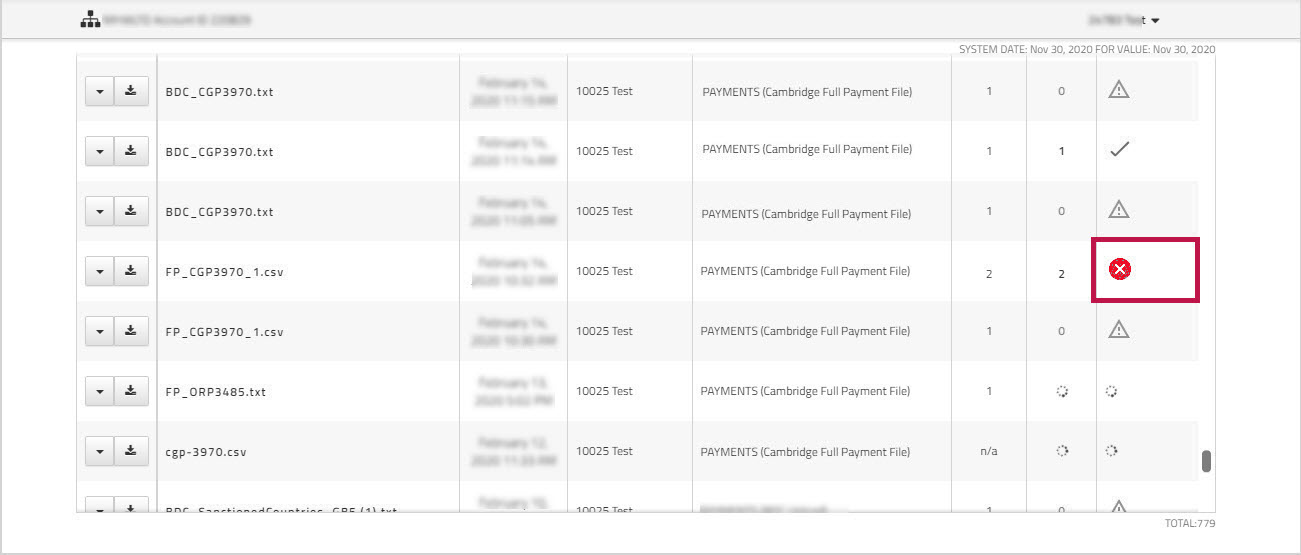
You can click the file name or the ![]() rejected icon to view the file and see the reason that the payment file was rejected.
rejected icon to view the file and see the reason that the payment file was rejected.